Showing posts with label Cookies. Show all posts

Sunday, August 1, 2010

You can call me Mrs. Fields

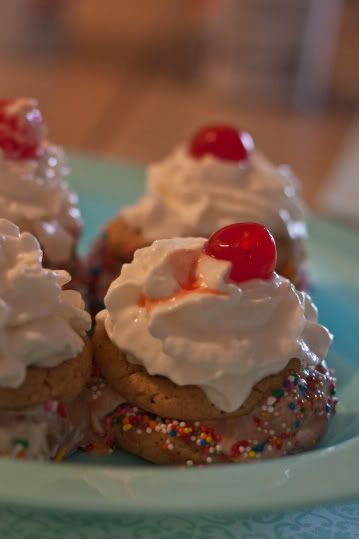
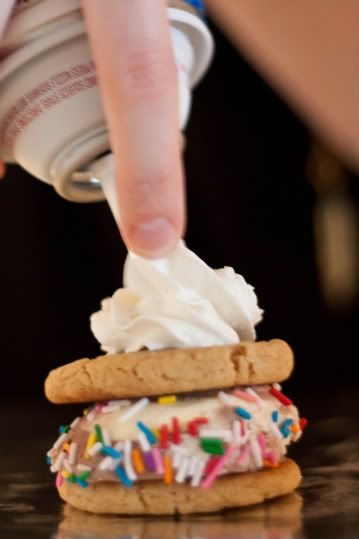
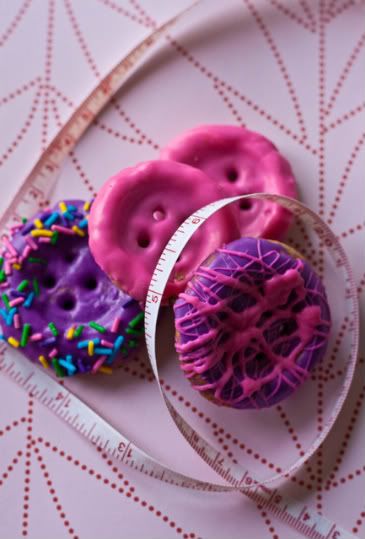
When I was organizing my cookbook collection recently,  I started to wonder how many recipes I had actually made from these beautiful cookbooks.  As it turned out what I have mostly tried were all Baked goods/desserts.

Seriously, I am 24/7 on Baking/Dessert autopilot.  I always just end up book marking baking websites & blogs, or flip to the dessert section of each cookbooks. (ya, my daily thoughts are shoes, bags, dresses, cookies, desserts... lather, rise and repeat)

So “When did this baking obsession start?” I asked myself.  Then I found this old gem which  was the 1st cookbook I had ever bought:

Mrs. Fields Best Ever cookie book!


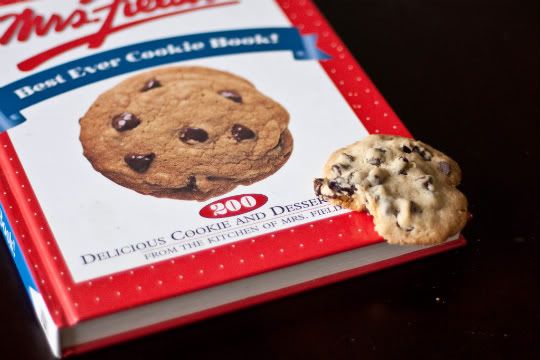
 I just love the title.  Its name suggests that it is not just any cookie book, but the BEST cookie book, with exclamation point! As if the title is dying to be screamed out on the mountain top.  (This just reminds me of that Seinfeld episode)

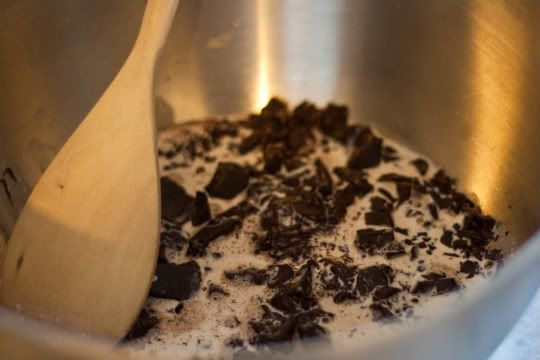
I have this book for over 10 years, but I have only gone thru first 10% of the book.  I always seems to be stuck at Chocolate chip Raisins cookies.  I don’t know why this combination is not so popular? The hint of bitterness from the semi-sweet chocolate chip with the sweet tanginess of raisins seems to be a match made in heaven.

 This book is out of print, but if you ever have a chance to acquire one, I highly recommend it! It is easy to follow and with over 200 different recipes!

Now come to think of it… should I do a “Julie and Julia” with this cookie book?


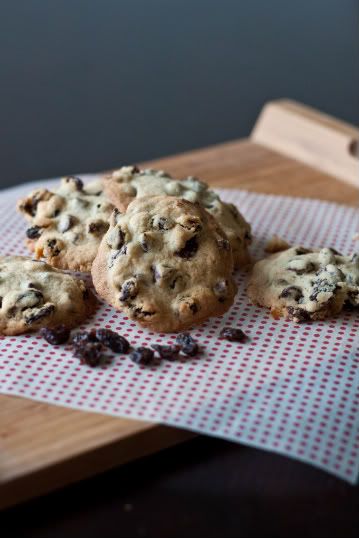
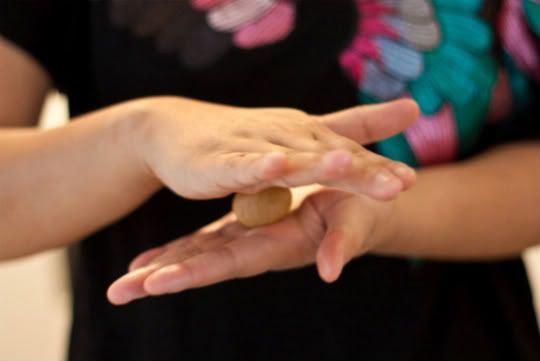
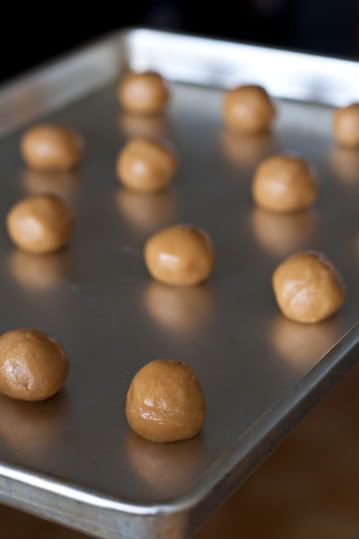
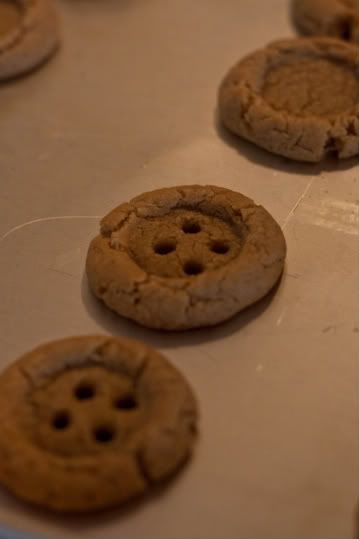
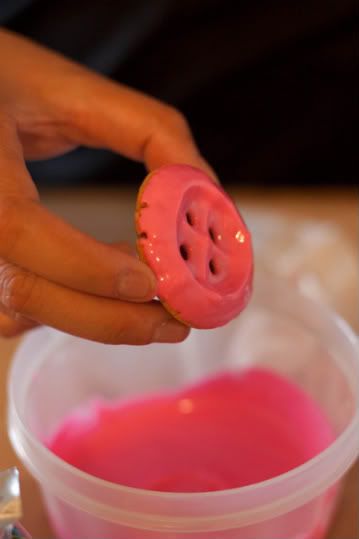
Chocolate chip Raisins Cookies
Make about 4.5 dozens

2 cups All Purpose Flour
½ teaspoon Baking Powder
1/3 Cup packed Light Brown Sugar
1 Cup Sugar
2 Sticks (1 cup) Salted Butter, room temperature
2 large Eggs, room temperature
2 teaspoon Vanilla Extract
2 cups Raisins
2 cups Semi Sweet chocolate chips

Preheat oven to 300F

In medium bowl, whisk flour and baking powder together, set aside

Blends Sugar & brown sugars in large bowl with electric mixer at medium speed.  Add Butter and mix until grainy.  Scarp down the side of bowl.

Add eggs and vanilla extract, and mix at medium speed until smooth.

Add the flour mixture, raisins and chocolate chips.  Blend at low speed until just combinded, do not overmix

Drop by  rounded tablespoons onto cookiesheets (1.5 inch apart).

Bake at medium rack for 18-20 minutes.  Transfer to cooing rack to cool.

Kate for F3

Sunday, July 18, 2010

The most beautiful Bride-to-be

I still recalled my first meeting with Cheryl 15 years ago in the hallway of our middle school.  Recognized by our nationality, which the school principle thought, “they OUGHT to be friends!”

There are endless amount of words to describe my dearest friend, Cheryl, but beautiful, charming, kindhearted, loyal & adoring are the first that come to my mind.

When Cheryl got engaged to her wonderful fiancé, Richard last year, the bridal party couldn’t think of a better idea than a Tiffany’s Blue Bridal shower to suits her enchanting personality. 

Naturally, I have created a Tiffany’s Blue dessert table, adorned with Vanilla butter cream cupcake, Chocolate Ganache Macaron, Sugar Cookies, and Cheryl’s favorite – Lemon Squares.

Congratulations Cheryl & Richard! I love you both very much! I can’t wait to attend your wedding!

Kate for F3

Tuesday, July 13, 2010

Summer Candyland

O my - I cannot believe it is July already.  So have you figure what is your summer jam yet?

I hate to admit it, but secretly I cannot get Katy Perry's California Gurls out of my head.  The song is just so campy, which makes it awesome! 

The first time I watch the video for the song, I am just mesmerized with the whole candy-land set up.  Who wouldn't want to live in a land of Cupcakes, Lollipops & Cotton Candy?  To make it even better, Snoop Dogg worn a cupcake suit!!! OMG!

With Katy Perry & Snoop Dogg as my inspirations,  here are some Candyland sugar cookies.  

P.S. does anyone else find the whole whipped cream thing a bit... disturbing? 


Kate for F3


Sunday, June 27, 2010

Miu Meow

pic via miumiu.com

That's shoe heaven right????

That picture is from the Miu Miu spring 2010 Collection.  For those, who are around me, must know by now... I am OBSESSED!

I am a crazy Miu Miu lover since... FOREVER... this brand captures everything that I love: fresh, unique & feminine.  They also have the BEST bags & shoes!

So when the models strolled down the Spring 2010 runway with Cats, Daisy, Sparrows and nude lady prints, I instantly fell in love.  As if Miuucia Prada knew exactly what my dream wardrobe would be! Seriously, if I could only wear one collection of clothing in my life, this would be IT!

So what is better to combine my love of the collection & my love of baking? I have recently taken up on the challenge to perfect my sugar cookie decorating skills… Here is what I whipped up over the weekend!

Special thanks to Bridget at Bake at 350 & University of Cookies for all the tips & help!
All runway pictures via Style.com


Kate for F3

Thursday, June 17, 2010

How do you like your Nutella?


From eating straight from a spoon, on plain white bread, or more elaborated Nutella Banana Crepes (which is still my favorite street eat on the street of Paris), seriously there is no bad combination with this silky hazelnut spread.  (Seriously, if I could, I would choose this over Le Mer as face crème! Cocoa has good antioxidant right?) 

Speaking of favorite Parisian good eats, Nutella Macaron is the love child of my favorite confectionaries from the city of Light (& butter)

 Nutella Macarons:
Makes about 16

90gr egg whites
50gr granulated sugar
200gr powdered sugar (minus 2 Tb)
110gr Almonds Flour
(or you can use Ground Hazelnut for more Hazelnut flavor)
2 Tb  Cocoa Power (Dutch Processed recommended)
Nutella

For the whites: 24 hours prior, separate your eggs and store the whites at room temperature in a covered container. If you want to use 48hrs (or more) egg whites, you can store them in the fridge.

In a stand mixer fitted with the whisk attachment, whip the egg whites to a foam, gradually add the sugar until you obtain a glossy meringue.

Combine the grounded nuts, cocoa powder and powdered sugar in a food processor pause to combine & remove lumps.

Add dry mixture to the meringue, give it a quick fold to break some of the air and then fold the mass carefully until you obtain a batter that flows like magma or a thick ribbon. Give quick strokes at first to break the mass and slow down. (should not take more than 50 strokes. )
 
Fill a pastry bag fitted with a plain tip (Ateco #807 or #809) with the batter and pipe small rounds (1.5 inches in diameter) onto parchment paper baking sheets.

Preheat the oven to 300F. Let the Macarons sit out for 30 mins – 1 hour to harden their shells.  This step is crucial to have the “pie” at base of each of Macarons. 
Bake for 8-10 minutes. Let cool.

To assemble Macarons, sandwich about 1 teaspoon of Nutella between each cookie

For more "dressed up" Macarons, sprinkle some cocoa powder lightly on top

Kate for F3

Saturday, May 29, 2010

They are Macarons, not Macaroons...

Have you ever tried a Macaron? I am talking about MACARONS, so please do not confuse them with their double “O” coconuty cousins, MACAROONS.

Macaron is a French confectionery with texture of a delicate eggshell-like crust with an airy & moist center. The Parisian Macarons are sandwiched with a filling, like butter cream, ganache or even better, jam!

Main ingredients of macarons are pretty straightforward: egg whites, sugars, almond flour; then you can add some sort of filling.  Sounds simple enough? Well it is not as easy as it seems as I have encountered many failed attempts. 

Keys  to successful Macarons are well proportioned recipes & great techniques. After some research, I have stumbled upon Tartlette Her recipes are well tested with technique that are pretty easy to understand.  Definitely a must read for all pastry fanatics. 

With Tartlette’s help, I have put previous failures aside and held my courage to attempt this confectionary diva's recipe.  With Combination of Tartlette’s basic Macarons recipe with Bakerella’s Metcha chocolate Bundt cake, the recipe of Matcha (Green tea) Macarons with Chocolate Ganache was born.

I will be posting more tips & sources on Macarons making in the very near future. 

The process of Macarons making can be intimidating, but the pursuit of the perfect Macarons is well worth the effort.

Matcha (Green Tea) Macarons with Chocolate Ganache:

Makes about 16

For The Shells:
90gr egg whites
50 gr granulated sugar
200 gr powdered sugar (minus 2 Tb)
110gr Almonds Flour (Grounded Almonds)
2 Tb Matcha (Green Tea Powder)

For the whites: 24 hours prior, separate your eggs and store the whites at room temperature in a covered container. If you want to use 48hrs (or more) egg whites, you can store them in the fridge.

In a stand mixer fitted with the whisk attachment, whip the egg whites to a foam, gradually add the sugar until you obtain a glossy meringue.

Combine the almonds, matcha powder and powdered sugar in a food processor pause to combine & remove lumps.

Add dry mixture to the meringue, give it a quick fold to break some of the air and then fold the mass carefully until you obtain a batter that flows like magma or a thick ribbon. Give quick strokes at first to break the mass and slow down. (should not take more than 50 strokes.)

 Fill a pastry bag fitted with a plain tip (Ateco #807 or #809) with the batter and pipe small rounds (1.5 inches in diameter) onto parchment paper baking sheets.
Preheat the oven to 300F. Let the Macarons sit out for 30 mins – 1 hour to harden their shells.  This step is crucial to have the “pie” at base of each of Macarons.


Bake for 8-10 minutes. Let cool.

For Chocolate “Paint” (optional)
1 Tablespoon of Cocoa Powder
1 Tablespoon of Water

Whisk cocoa powder & water together until combined; Dip Pastry Brush (not the silicone kind) into mixture.  Make sure to test on some parchment paper first for desired brush strokes. 

Brush on Cool cookies – Let dry.

For The Ganache:
1/2 cup heavy cream
8 oz semi-sweet chocolate morsels.


Heat the cream in a small pot until just before boiling.

Place chocolate in medium bowl and pour cream over. Let sit for a few seconds and then stir until smooth.
Let cool slightly and spoon a small amount on the bottom of a macaron and then sandwich with another cookie.

To assemble Macarons, sandwich about 1 teaspoon of ganache between each cookie

Kate for F3

Sunday, May 16, 2010

A Warm Sunday Afternoon….

 So far it’s been an unusually warm Spring (talking Toronto standard). Maybe it’s the weather or maybe it’s just our rumbling bellies but we were really in the mood for some ice cream. Using leftover cookie dough from our peanut butter cookie button experiment, we mashed together a rough idea for Banana Split Ice cream Sandwiches! Woo!

What you’ll need:
Peanut Butter Cookie Mix (or any cookie really)
PC Banana Split Ice cream
Whipped Cream
Cherries
Sprinkles
Bib (optional)

We made the cookie size slightly bigger than the button size… but you can make them as big as you want. Once we pulled them from the oven we flattened the cookie down so it was consistent in thickness. Set them aside and let them cool.


 So obviously, the first step is to make a sandwich by using two cookies and a healthy amount of ice cream. Using a knife, smooth the ice cream out on the sides just to neaten it up a bit.

 Once that’s good, decorate the sides of the ice cream. You can do that by rolling it in a big pile of sprinkles. We just dumped a bunch out on foil and let it roll. Top with whipped cream and a cherry then Pow!

Eat with caution. Being that it was a bit of a humid day, our ice cream kind of got away from us… if you know what we mean. In hindsight, we probably should have pre-shaped our ice cream centers into patties and put them back in the freezer over night. We were obviously too excited to eat these puppies to think logically. Once we formed the sandwich there was very little time before it started to melt. Basically, the colder the ice cream the better.


Katie & Kate for F3

Wednesday, May 5, 2010

... Eat These Buttons!


For our first mini project we decided to start small and easy. Easy is key! Being that we are frequent visitors to Bakerella, we knew immediately what our starting point was... but narrowing down all those options was difficult.

 Oh Bakerella… you’re like magic.

 In the end, after wiping the drool from our chins, we decided on Peanut Butter Button Cookies! Huzzah!

Recipe is simple. Just grab an instant peanut butter cookie mix and whip it up. Seriously. Easy. The overall quality of the cookie isn’t half bad – it baked up nice and chewy which is exactly how we like our peanut butter cookies to be.


Once the dough is good to go, you roll up each cookie into even sized balls. Bakerella uses a pop bottle cap as her guide so we did too and it’s really the perfect size.


Place the balls on a non-greased cookie sheet; we got 16 on at a time. The cookies will spread while baking so make sure there is sufficient amount of space between each one. 

As soon as you pull those suckers out of the oven, you should begin the button-making process. You gotta work fast.  Grab the pop bottle cap and use the top/flat side to press the middle of each cookie downwards. By doing so, you end up forcing the outer edge upwards giving a raised button edge look. After that, you need to poke out the holes using a straw. Our first try resulted in the straw tip melting slightly. Yikes. Just keep that in mind if you decide to try this. We also had some technical difficulties with punching the holes. Sometimes it came out cleanly in the straw and other times it did not. Be prepared with tooth picks or any other object to remove the excess left behind in the holes.

Once they’ve cooled down, you can move on to the best part: Dipping in candy melts! This is the tastiest mess you’ll ever make. We went for bright, happy Spring colours and accompanied that with sprinkles and glitter and magic and happiness. So Voila! Peanut butter Cookie Buttons! They’re cute, yummy and will probably make you some new friends.


It wasn’t all perfect though and we did have some casualties along the way. Lets take a moment to remember the broken and crumbled.


Katie & Kate for F3